Introduction
Replacing or installing flooring yourself can be one of the most rewarding home improvement projects. With the right planning, tools, and techniques, you can achieve a professional-looking result and save money. This guide walks you through common flooring options, pros and cons, essential preparation steps, basic installation techniques, and frequent mistakes to avoid.
Overview of Flooring Options
Choosing the right flooring depends on the room, budget, and how much maintenance you’re willing to do. Here are the most popular options:
- Hardwood — Timeless and durable, adds value to your home. Best for living rooms and bedrooms. More expensive and sensitive to moisture.
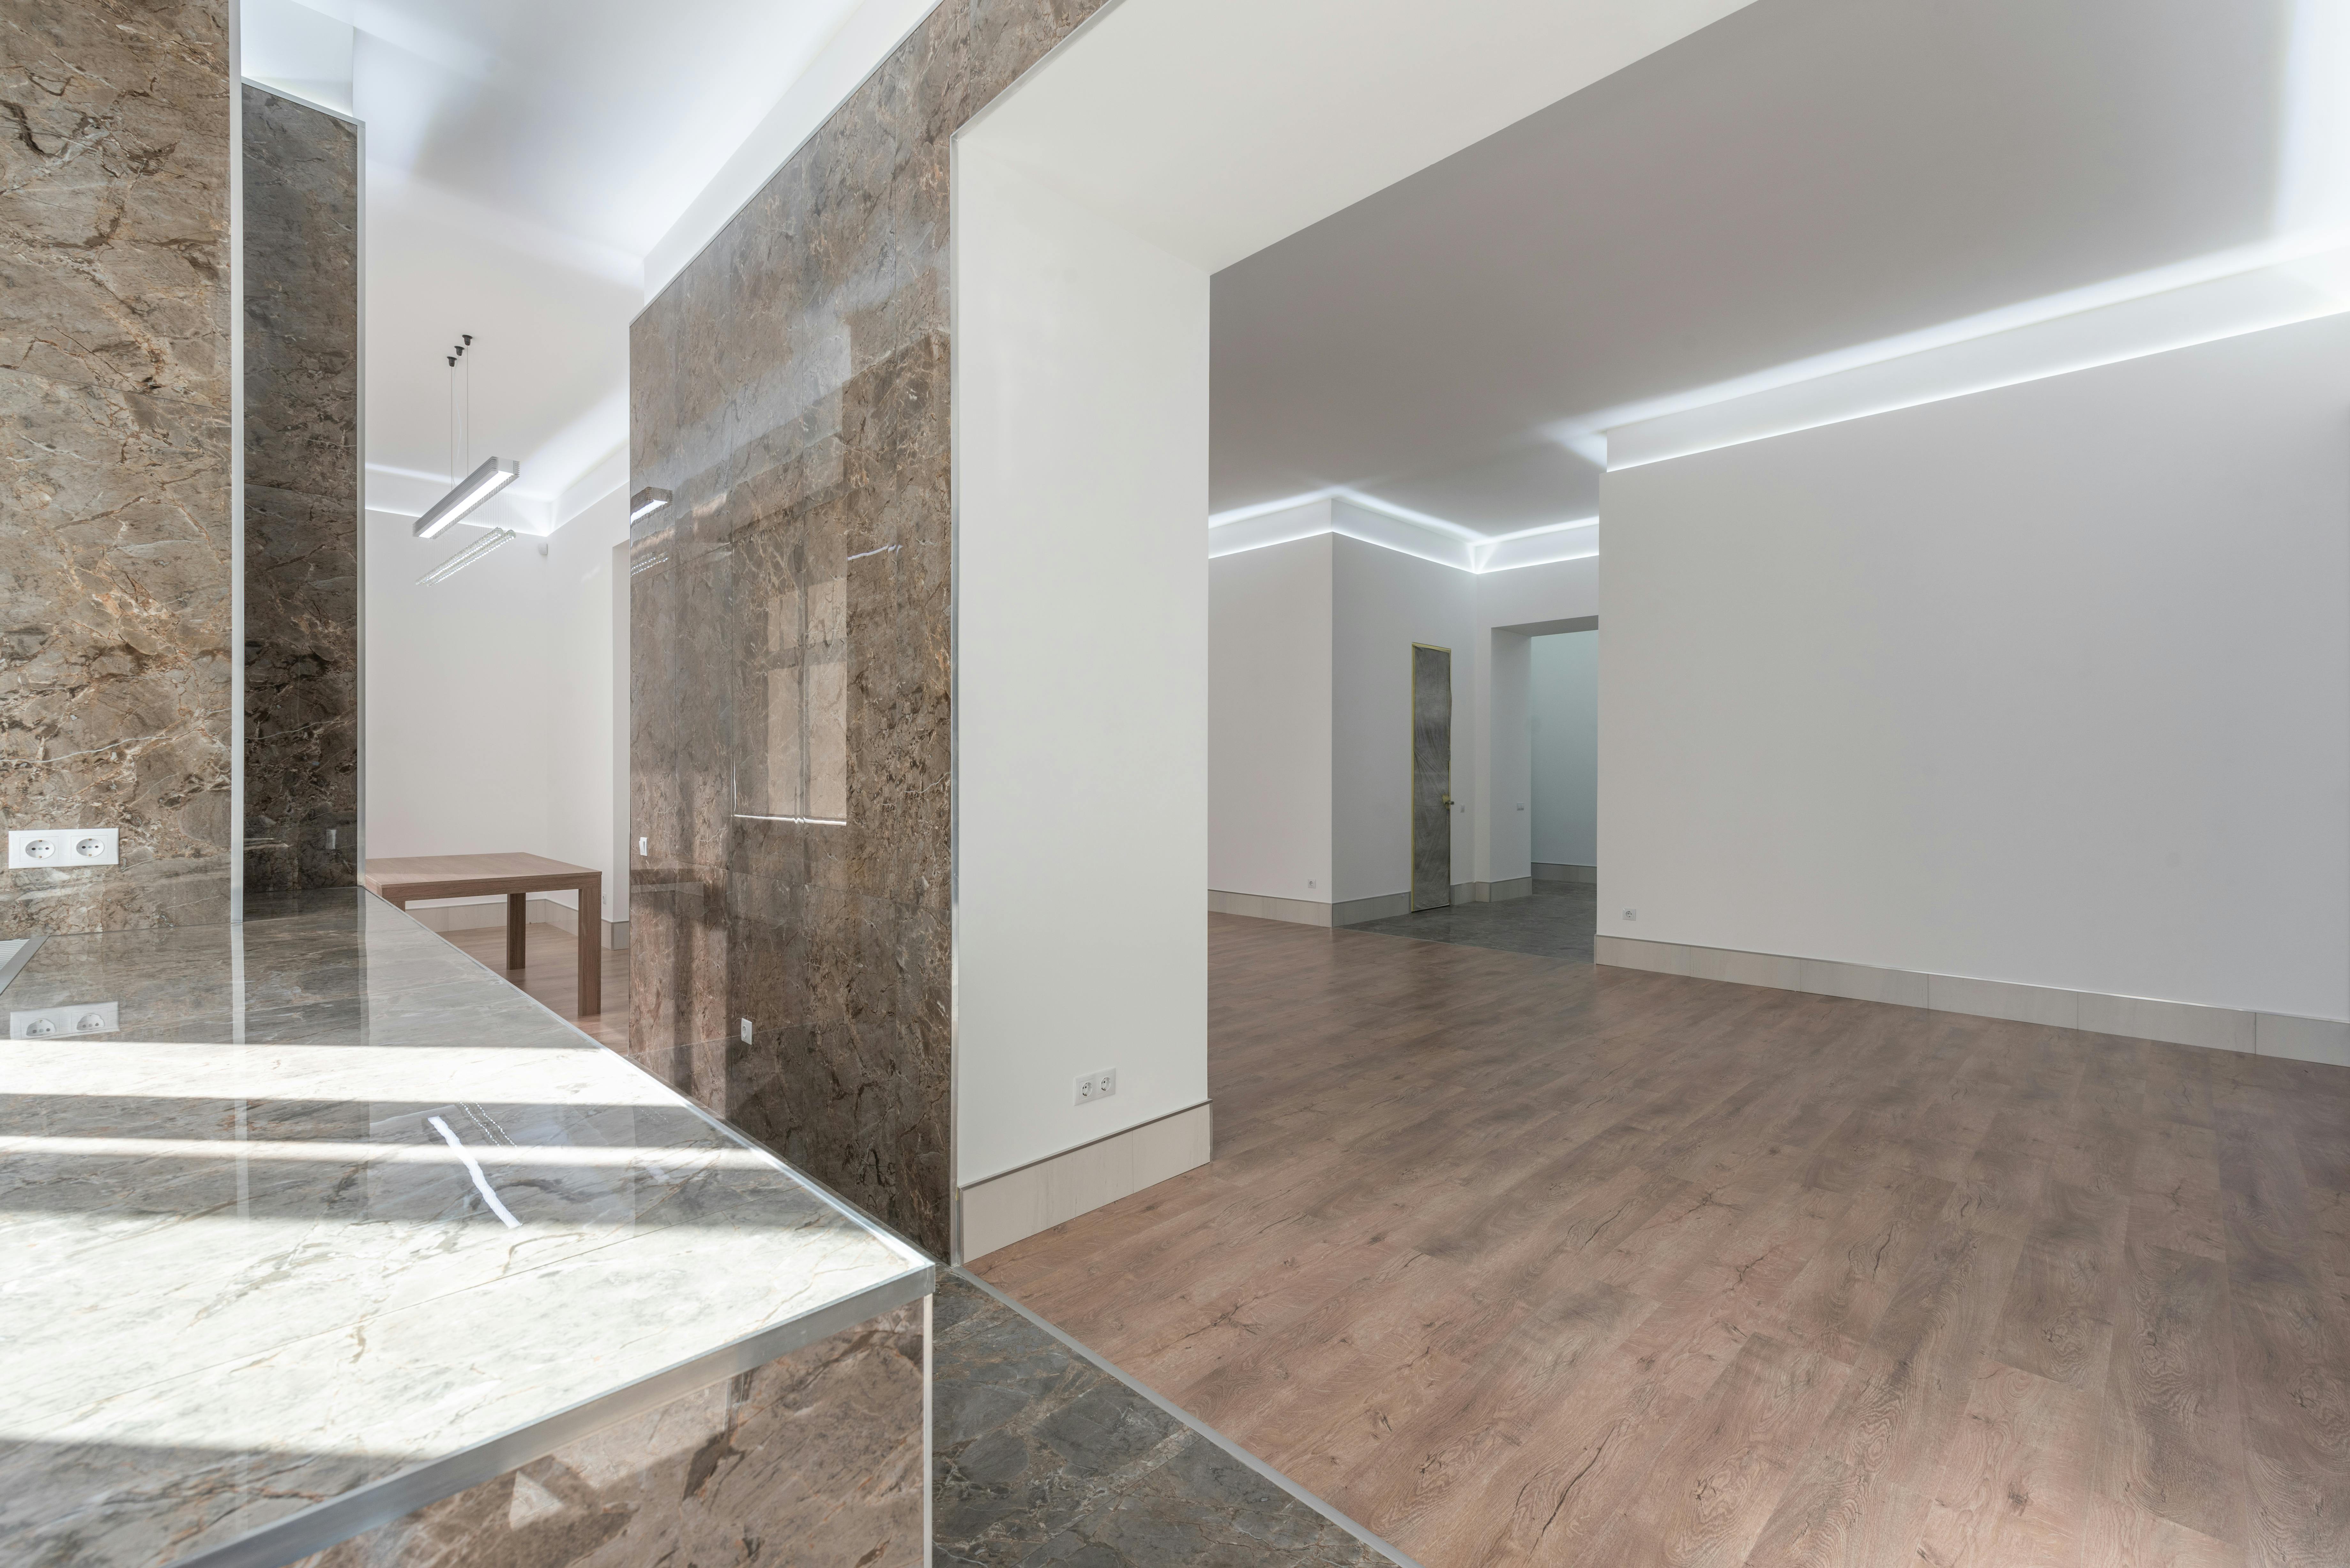
- Engineered Wood — Looks like hardwood but handles humidity better. Installed as floating or glued floors.
- Laminate — Affordable and hard-wearing surface; easy click systems. Not real wood; can’t be refinished.
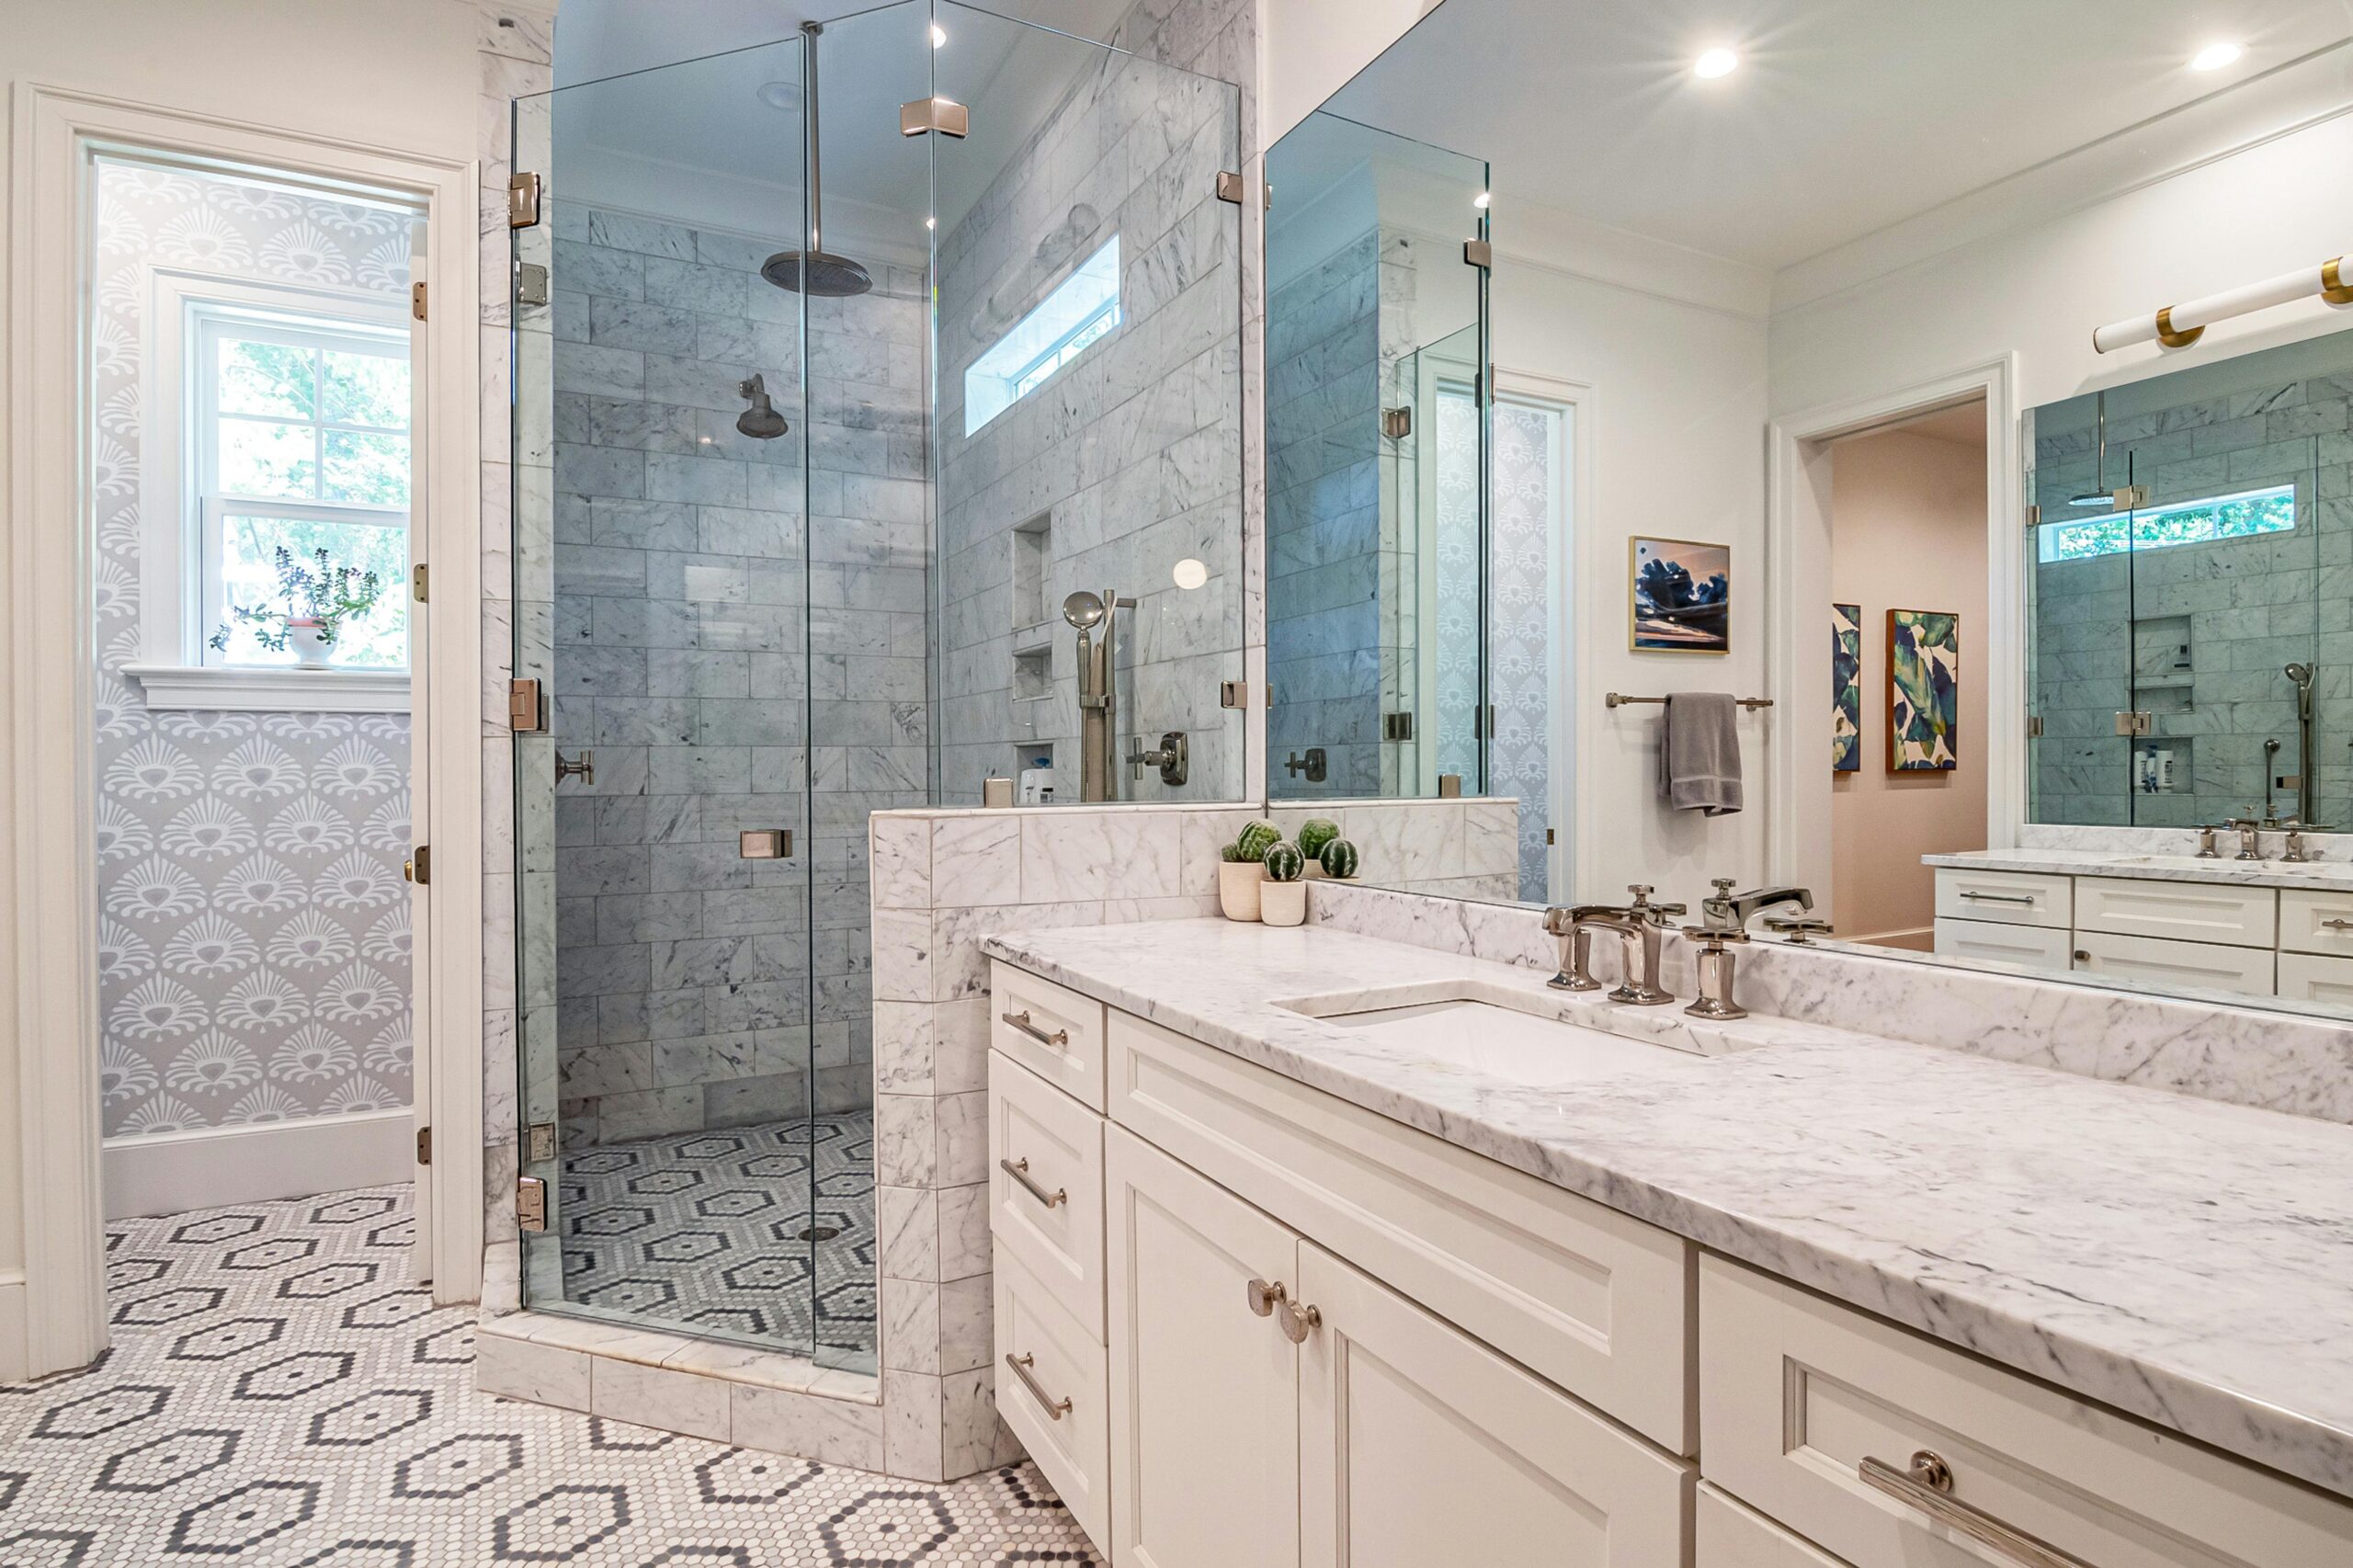
- Vinyl (LVP/LVT) — Waterproof, resilient, and realistic visuals. Great for kitchens and bathrooms.
- Tile — Ceramic or porcelain; extremely durable and waterproof. Requires grout and proper subfloor prep.
- Carpet — Soft and warm, good for bedrooms; requires periodic cleaning and may wear in high-traffic areas.
Pros and Cons Summary
- Durability: Tile and hardwood are long-lasting; vinyl and laminate offer good scratch resistance.
- Cost: Carpet and laminate are budget-friendly; hardwood and tile can be costly.
- Maintenance: Hardwood needs refinishing eventually; vinyl and tile are low-maintenance.
- Moisture Resistance: Vinyl and tile are best for wet areas; hardwood should be avoided in basements and bathrooms.
Preparation Steps
Preparation is the most important phase. Skipping it is a common cause of failure.
- Measure Accurately — Calculate square footage, add waste allowance (typically 5-10% depending on pattern).
- Remove Old Flooring — Take up carpet, tack strips, or loose tiles. Clean the subfloor thoroughly.
- Check the Subfloor — It must be flat, dry, and stable. Use a straightedge to find high and low spots.
- Make Repairs — Replace rotten plywood, level low areas with a floor patch or self-leveling compound, and screw down squeaky spots.
- Acclimate Materials — Many products (wood, laminate, LVP) must sit in the room for 48–72 hours to acclimate to humidity and temperature.
- Gather Tools — Measuring tape, chalk line, saw (miter or circular), spacers, hammer, tapping block, pull bar, underlayment, and safety gear.
Basic Installation Techniques
Different materials have different methods, but here are core techniques for common types:
Floating Floors (Laminate, Engineered Click-Lock)
- Install underlayment if required for sound and moisture barrier.
- Start along the longest straight wall, using spacers to maintain expansion gap.
- Stagger end joints at least 6-8 inches between rows for stability and appearance.
- Use a tapping block and pull bar to join planks snugly without damaging edges.
Glue-Down Vinyl or Tile
- Ensure the subfloor is perfectly level; use a primer when recommended.
- Apply adhesive with the correct trowel and work in small sections to avoid setting before placement.
- For tile, plan layout to reduce thin edge cuts; use spacers and proper grout technique.
Nail-Down or Staple-Down Hardwood
- Use a flooring nailer/stapler and follow manufacturer spacing and pattern.
- Blind-nail along the tongue to hide fasteners, and leave allowance at walls for expansion.
Common Mistakes to Avoid
- Poor Subfloor Prep: Uneven or damp subfloors cause clicks, gaps, and failure.
- Skipping Acclimation: Installing wood or laminate before acclimation can lead to buckling or gaps.
- Incorrect Expansion Gaps: Not leaving adequate space at walls for movement causes buckling.
- Wrong Adhesive/Trowel: Using the wrong glue or trowel size for the product leads to bonding failures.
- Ignoring Layout: Poor starting line or layout can make a room look off-balance; always dry-fit and snap a chalk line.
- Rushing Cuts and Finishes: Accurate cuts and proper trim work are what make DIY floors look professional.
Final Tips
Take your time planning, read the manufacturer’s instructions, and invest in a couple of quality tools like a good blade and a tapping block. If a room has challenging shapes or moisture issues, consider hiring a pro for the tricky parts but do the prep and cleanup yourself to save money. With patience and attention to detail, you can install flooring that looks like it was done by a pro.
Good luck with your project—measure twice, cut once, and enjoy your refreshed space.


This is a very thorough guide — the section on acclimation saved me from a disaster. Thanks!
Great tips. For vinyl plank, do you recommend glue-down or click-lock for a kitchen?
I wish you included a short tool checklist PDF, but the list here helped me get started.