
Painting a room or a piece of furniture can transform a space, but success comes from careful prep, the right paint and finish choices, and proper technique. In this guide we cover surface preparation, selecting paint and finishes, tools that make clean lines easier, and practical advice for achieving long-lasting results.
1. Surface Preparation: The Foundation of a Good Paint Job
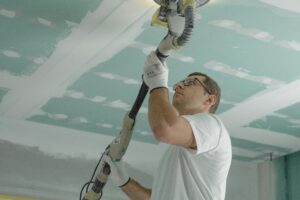
Surface prep is often the most important step and yet the most overlooked. Proper cleaning, filling, sanding, and priming ensure good adhesion and a smooth final appearance.
- Clean thoroughly: Remove dirt, grease, and mildew using a mild detergent or trisodium phosphate solution for stubborn grime. Rinse and let dry completely.
- Repair imperfections: Fill holes and cracks with spackling or joint compound. For larger repairs use patching plaster or a backing mesh when necessary. After drying, sand flush with surrounding surface.
- Sand appropriately: Light sanding creates tooth for adhesion. Use finer grits for final smoothing. For glossy surfaces, deglossing with an abrasive pad helps the primer and paint stick.
- Prime: Primer seals stains, evens porosity, and improves adhesion. Use stain-blocking primer over water stains or nicotine, and bonding primer for slick surfaces like laminate or previously glossy paint.
2. Choosing Paint and Finishes
Selecting the right paint type and finish depends on the room, the substrate, and desired durability.
- Types of paint: Water-based latex is easy to clean, quick to dry, and has lower odors. Oil-based paints provide a smoother finish and are more durable in high-wear areas but require mineral spirits for cleanup.
- Finishes: Flat hides imperfections but is less washable. Eggshell and satin are good for living rooms and hallways. Semi-gloss and gloss suit trim, kitchens, and bathrooms where moisture and cleaning are factors.
- Specialty coatings: Use mildew-resistant paints for bathrooms, alkyd enamels for cabinetry, and exterior-specific formulations for outdoor projects that resist UV and weathering.
3. Tools and Techniques for Clean Lines
Clean lines come from the right tools and patient technique.
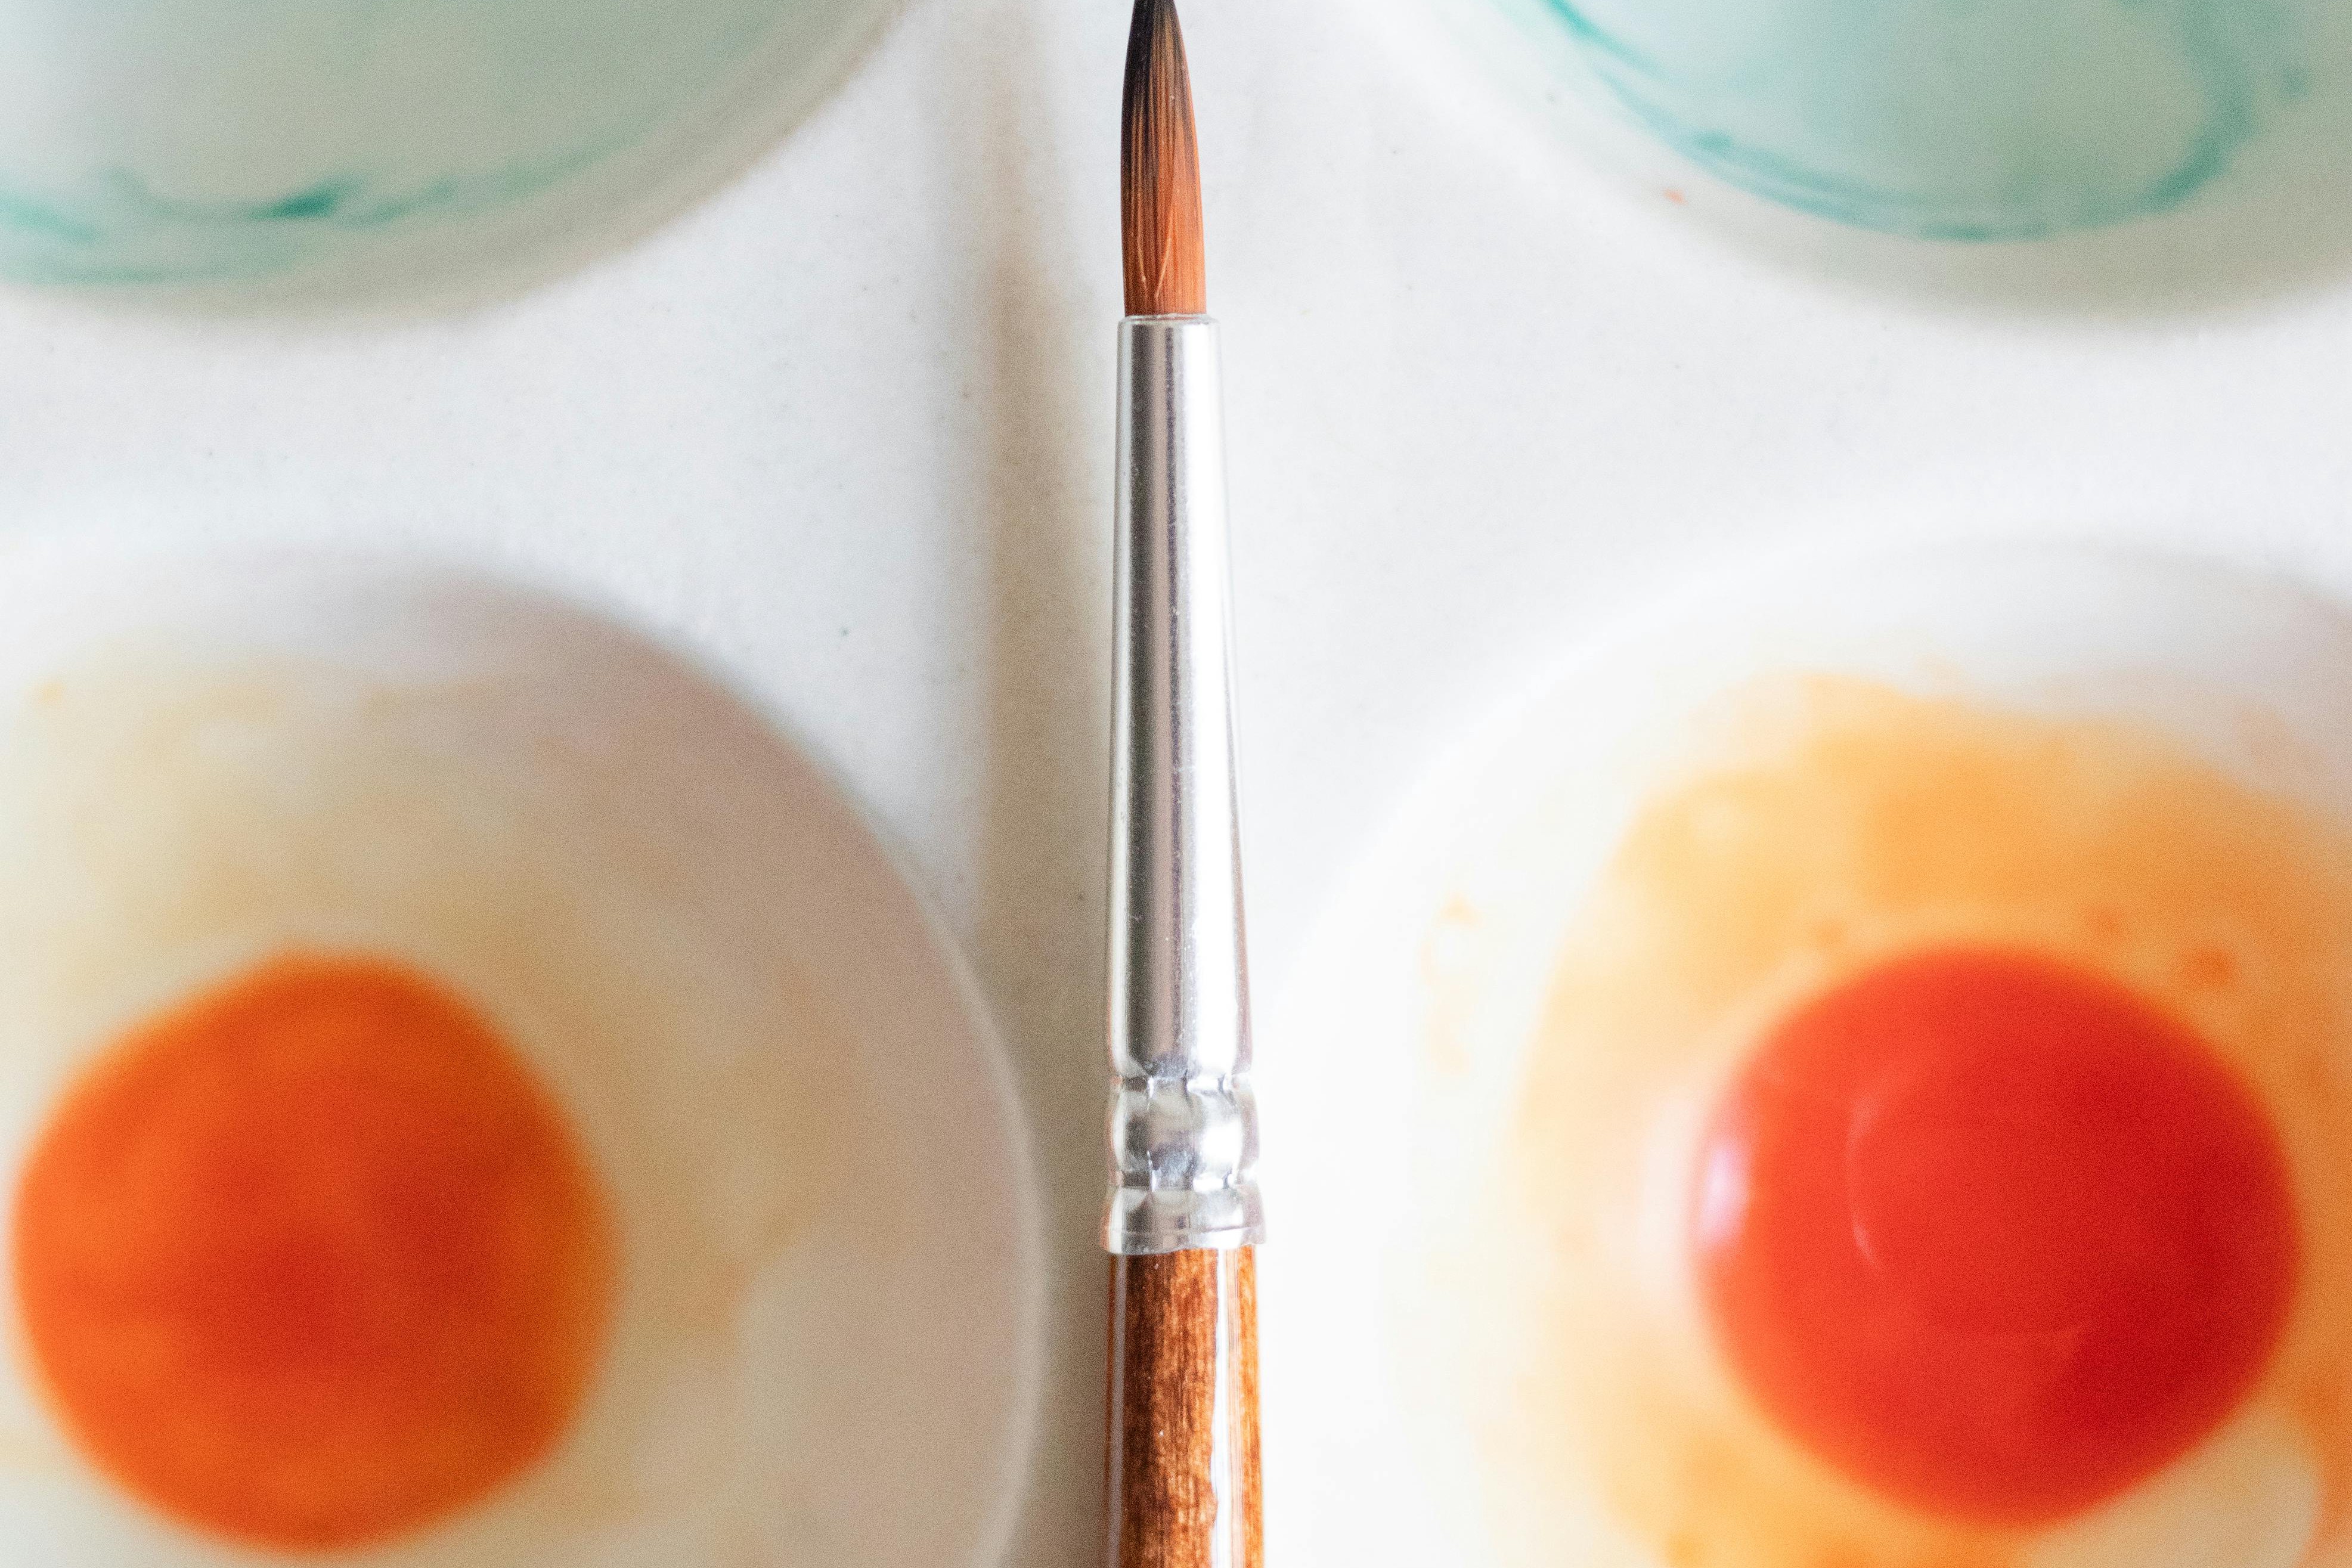
- Brushes: Use a high-quality angled sash brush for cutting in along ceilings and trim. Natural bristles work well with oil-based paints; synthetic bristles are best for latex.
- Rollers: Choose roller nap based on surface texture: smooth surfaces need a short nap, textured walls require a longer nap to reach crevices.
- Painters tape: Use high-quality tape and apply it to a clean, dry surface. Press the edge firmly to prevent bleed. Remove tape while paint is tacky for straighter edges.
- Cutting in technique: Work in small sections, paint a strip along the edge, then blend with a rolled area while the paint is still wet to avoid lap marks.
- Edge tools: For quick, clean lines consider an edging tool or trim guide, but steady handed cutting in often produces the best results when done slowly.
4. Techniques for Durability and Long-Lasting Results
- Apply thin coats: Multiple thin coats dry faster and adhere better than one thick coat, reducing drips and uneven texture.
- Follow drying times: Allow recommended drying and recoat times between layers. Humidity and temperature affect drying; avoid painting in extreme conditions.
- Protect high-wear areas: Use semi-gloss or satin on trim and doors. Consider a clear protective topcoat for furniture or tabletops.
- Maintain proper ventilation: Good airflow helps with curing and reduces fumes. Use fans and open windows when possible.
- Store leftovers correctly: Seal containers tightly, label with color and date, and store off the floor in a cool, dry place.
5. Final Tips and Troubleshooting
Expect small challenges, and have a plan to address them.
- To avoid visible brush marks, work with the flow of the brush and finish with light, even strokes.
- If you see brush strokes or roller texture, lightly sand between coats with very fine sandpaper and wipe dust away before the next coat.
- Test colors in different lighting and on different walls before committing to the entire room.
- When painting trim and walls different colors, paint the trim first or use a steady hand with tape; many pros paint the ceiling, then cut in the ceiling and trim, then roll the walls.
In summary, a professional looking, long-lasting paint job depends less on luck and more on preparation, the right materials, and patient technique. Take the time to prep surfaces, choose suitable paint and finish, use quality tools, and apply careful methods for clean lines. With these steps you’ll get results that look great and stand up to daily life.


Great tips, especially about priming and removing tape while paint is tacky. Saved me from a few peeling edges.
I appreciated the advice on finishes. Switched to satin for my hallway and it cleans so much better now.
Would add that using a quality brush makes a huge difference. Cheap brushes leave bristles and streaks.