
How to Plan a Home Renovation – Step-by-step Guide
Renovating a home is exciting but can quickly become overwhelming without a clear plan. This guide walks you through assessing needs, setting priorities, creating a realistic timeline, securing permits, and deciding when to hire professionals versus taking on tasks yourself. Follow these steps to reduce surprises, stay on budget, and complete a renovation that improves function, safety, and value.
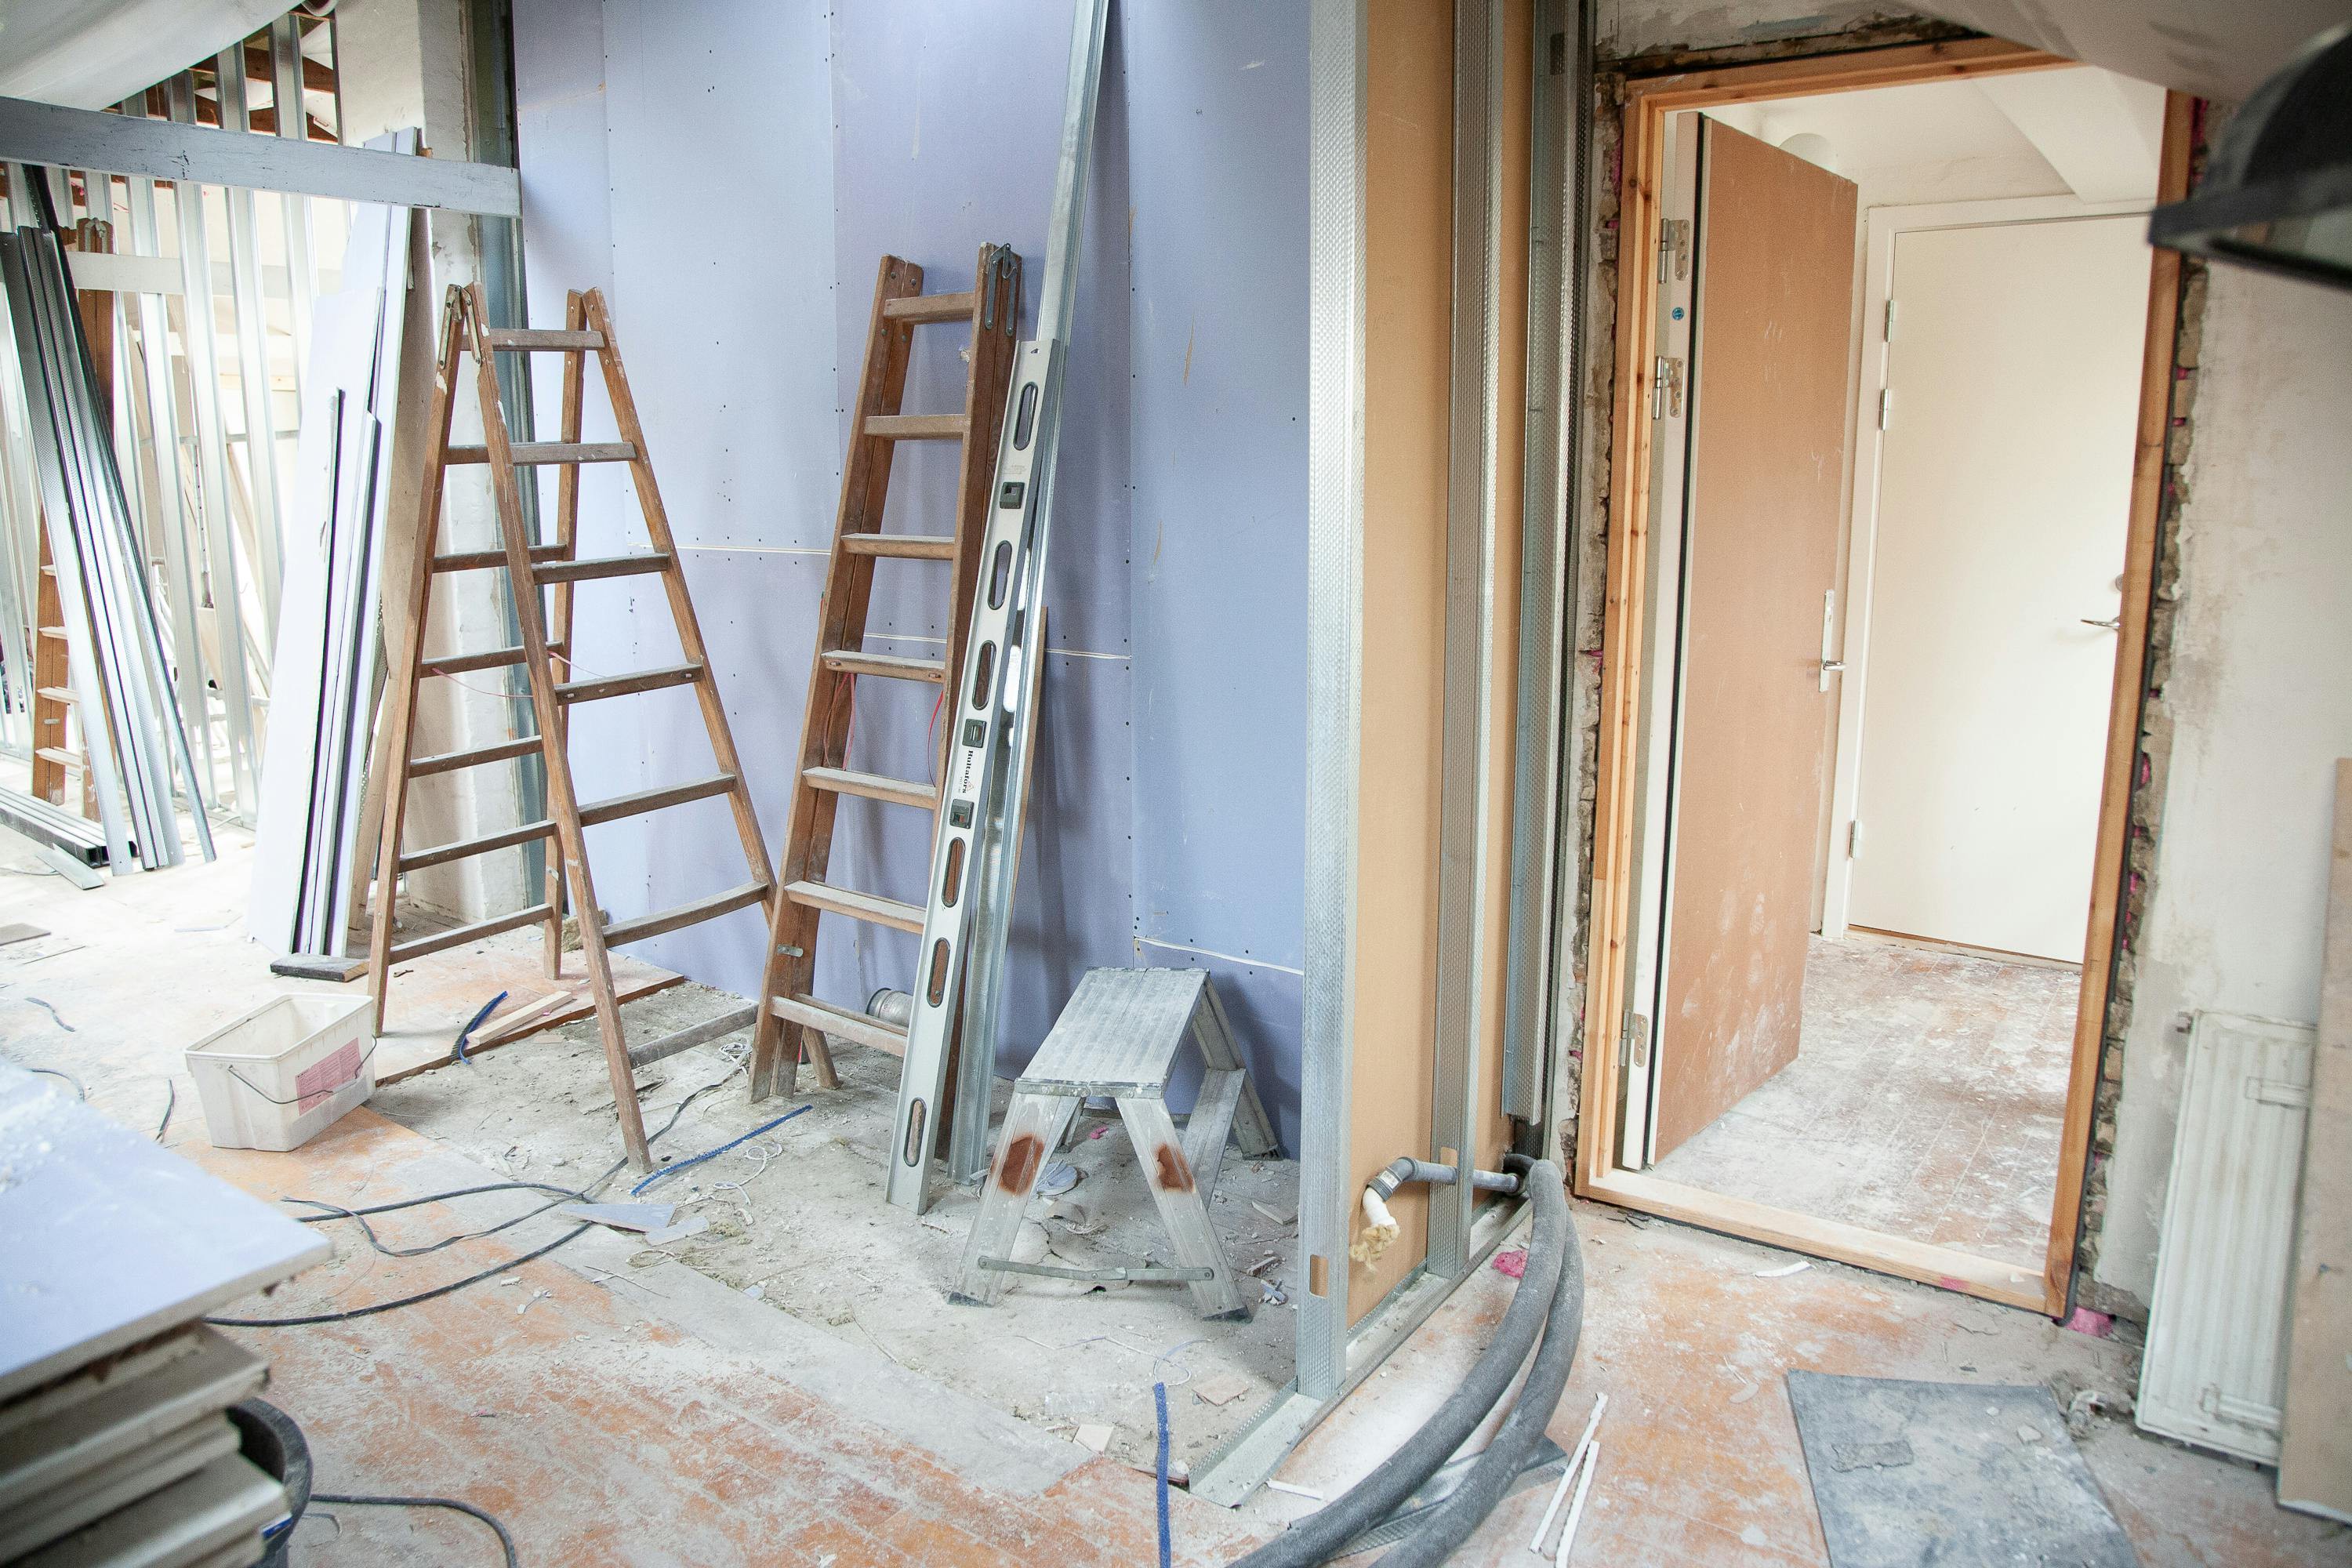
1. Assess Your Needs
Start with a comprehensive assessment of your home and your goals. Ask yourself and your household these questions:
- What problems must be fixed immediately (safety, leaks, electrical hazards)?
- What would improve daily life (kitchen layout, storage, lighting)?
- Which updates will increase resale value or energy efficiency?
Walk each room and take notes and photos. Evaluate structural elements (roof, foundation), mechanical systems (HVAC, plumbing, electrical), and cosmetic issues. For anything that looks structural or involves wiring or gas, consider a professional inspection early in the process.
2. Set Priorities
Not every wish will fit your budget or timeline. Categorize items into three groups:
- Must-haves: Safety and code issues, essential repairs.
- Should-haves: Improvements that enhance function or value.
- Nice-to-haves: Cosmetic upgrades or features that can wait.
Use this prioritized list to allocate funds. If budget is tight, complete must-haves first and phase the rest. Consider ROI: kitchens and bathrooms typically offer higher resale returns than some cosmetic upgrades.
3. Create a Timeline
Map the project into phases. Typical phases include planning/design, permitting, demolition, rough-in (electrical/plumbing/structural), finishing (drywall, paint), and final installations. For each phase, estimate realistic durations and add buffer time for delays such as inspections, delivery of materials, or unexpected issues. A simple timeline template can help:
- Design & decisions: 2–6 weeks
- Permitting: 2–8 weeks depending on your jurisdiction
- Construction: days to months depending on scope
Order long-lead items (custom cabinets, specialty windows) early. Coordinate trades so work proceeds in logical order — for example, don’t install cabinets before electrical and plumbing rough-ins are completed and inspected.
4. Secure Permits
Check local building codes and permit requirements before you begin demolition. Typical work requiring permits includes structural changes, adding or moving walls, new electrical circuits, major plumbing work, and HVAC changes. Failing to obtain permits can lead to fines, forced corrections, or problems when selling your home.
Steps to handle permits:
- Contact your city or county building department for guidance.
- Submit plans or permit applications as required — some projects need drawings from an architect or engineer.
- Schedule required inspections at designated stages (rough-in, final).
If the permit process is daunting, you can hire a contractor who handles permit pulls, or a permit expediter to manage filings for a fee.
5. Decide: Hire Professionals or DIY?
Deciding whether to hire pros or do it yourself depends on skill level, code requirements, risk tolerance, and time. Use these guidelines:
- Hire professionals for: structural changes, major electrical or plumbing work, HVAC systems, gas hookups, and projects that require permits or engineered drawings.
- Consider DIY for: painting, tiling, installing trim, sanding floors, and some cabinetry or landscaping if you have the experience.
Hybrid approaches work well: hire pros for the complex or code-sensitive parts, then do finishing touches yourself to save money. If you plan to DIY, be honest about your abilities and factor in the time it will take. Mistakes can be costly and may require pro intervention later.
6. Budgeting and Contracts
Estimate costs for labor, materials, permits, inspections, and contingencies. A common rule is to set aside at least 10–20% of the project cost for unexpected issues. When hiring contractors:
- Get at least three written quotes and compare scope, not just price.
- Verify licenses, insurance, and references.
- Use a written contract that specifies scope, timeline, payment schedule, and change order procedures.
Avoid paying large sums up-front. A typical payment schedule might include a deposit, progress payments, and a final payment upon completion and satisfaction.
7. Final Steps: Inspections and Punch List
Schedule final inspections if required and create a punch list of small issues to be corrected. Walk through the completed work with your contractor and confirm all items are finished. Keep copies of permits, warranties, and invoices for future resale or maintenance.
Practical Tips
- Communicate openly and frequently with your contractor and household members.
- Expect inconvenience — set up temporary cooking or laundry solutions if needed.
- Document decisions and change orders in writing to avoid disputes.
Renovations succeed with careful planning, realistic timelines, and the right balance of professional help and DIY. Start with a clear assessment, set smart priorities, respect permit rules, and hire experts where safety and code compliance matter most. With preparation and patience, you’ll finish a remodel that enhances your home’s comfort, safety, and value.


Really helpful breakdown — the priority list and permit advice saved me a lot of confusion during my kitchen remodel.
Good point about ordering long-lead items early. My custom countertops took 6 weeks and delayed the finish.
Would love a follow-up post outlining how to vet contractors and sample contract clauses. Any recommendations?
I appreciated the DIY vs pro guidance. I ended up doing painting and trim myself and hired pros for plumbing — best of both worlds.
Don’t forget to check historic district rules — I needed special approvals for exterior changes that weren’t covered here.